Tips
How to generate PDFs with Node.js and Puppeteer
How to generate PDFs with Node.js and Puppeteer
How to generate PDFs with Node.js and Puppeteer
A guide to code your homemade HTML to PDF with Puppeteer, at your own risk


Easily Generate PDFs from Modern Webpages with Puppeteer! Faced with the difficulty of converting complex HTML sources to PDFs ?
Many libraries fall short, lacking compatibility with JS, CSS, and webfonts. Enter Puppeteer: a Node.js library that leverages the DevTools protocol to control Headless Chrome effortlessly.
Puppeteer removes the complexity of understanding this protocol, offering simple functions to navigate the headless browser and create PDFs from your webpage efficiently.
Node.js project init :
Create a new Node.js project and install puppeteer :
mkdir html-to-pdf && cd html-to-pdf
Check if Node.js is properly installed and not too old, anything superior to 18 is fine :
node --version
If not, I recommend you to install it with a version manager like nvm (https://github.com/nvm-sh/nvm)
Now you can init a new Node.js project in the folder :
npm init -y
Install Puppeteer :
Now that your folder is properly initialized as a Node.js project, you can now use npm to install the puppeteer library :
npm i puppeteer
Puppeteer comes packaged with its own version of Chrome, that is guaranteed to work properly with the installed puppeteer version.
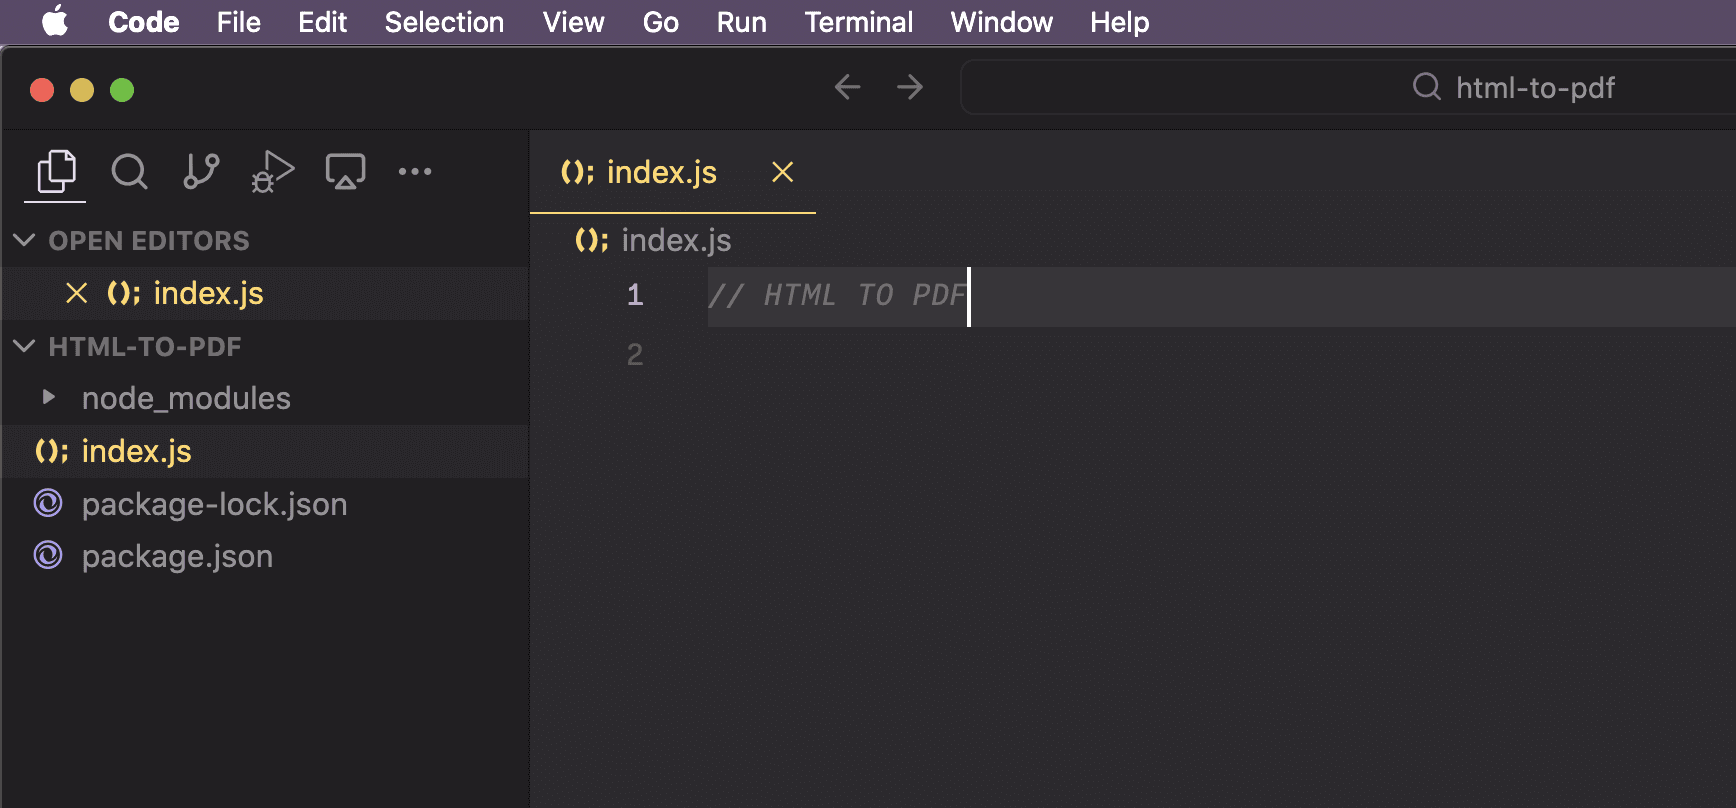
Open your preferred code editor, navigate to the folder you've created, and it's time to create an index.js file alongside your package.json.

This index.js is where we will write all the code for this guide.
Let’s import the puppeteer library, we want to use the “import” syntax so do not forget to add “type”: “module” inside your package.json first.
{
  "name": "html-to-pdf",
  "version": "1.0.0",
  "description": "",
  "type": "module",
  "main": "index.js",
  "scripts": {
    "test": "echo \\"Error: no test specified\\" && exit 1"
  },
  "keywords": [],
  "author": "",
  "license": "ISC",
  "dependencies": {
    "puppeteer": "^22.4.1"
  }
}
Inside your index.js you can now properly import the puppeteer library, with the “import” syntax.
import puppeteer from 'puppeteer';We can also define an anonymous function that will contains all our code :
(async () => {
  console.log(puppeteer.defaultBrowserRevision);
})();
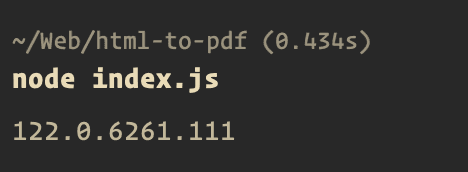
This just prints the “defaultBrowserRevision”.
You can check if everything is fine by running :
node index.js

Rendering a PDF from HTML with a URL as the source.
OK great, now we can write some real code :
import puppeteer from 'puppeteer';

(async () => {
  console.log(puppeteer.defaultBrowserRevision);

  // Start the browser
  const browser = await puppeteer.launch();

  // Open a new blank page
  const page = await browser.newPage();

  // Set screen size
  await page.setViewport({ width: 1920, height: 1080 });

  // Navigate the page to a URL and wait for everything to load
  await page.goto('https://doc.doppio.sh', { waitUntil: 'networkidle0' });

  // Use screen CSS instead of print
  await page.emulateMediaType('screen');

  // Render the PDF
  const pdf = await page.pdf({
    path: 'render.pdf', // Output the result in a local file
    printBackground: true,
    format: 'A4',
  });

  // Close the browser
  await browser.close();
})();
Puppeteer offers an extensive range of options and parameters for customization. Among them, two stand out for their importance :
waitUntil: Considering the multitude of assets that modern web pages comprise—such as JavaScript files, fonts, CSS, and images; this parameter ensures that the rendering process waits until all elements are fully loaded.printBackground: This parameter controls the inclusion of background images or colors in the PDF. By default, it's set to false, so enabling it is crucial for achieving the desired appearance in your PDF output.
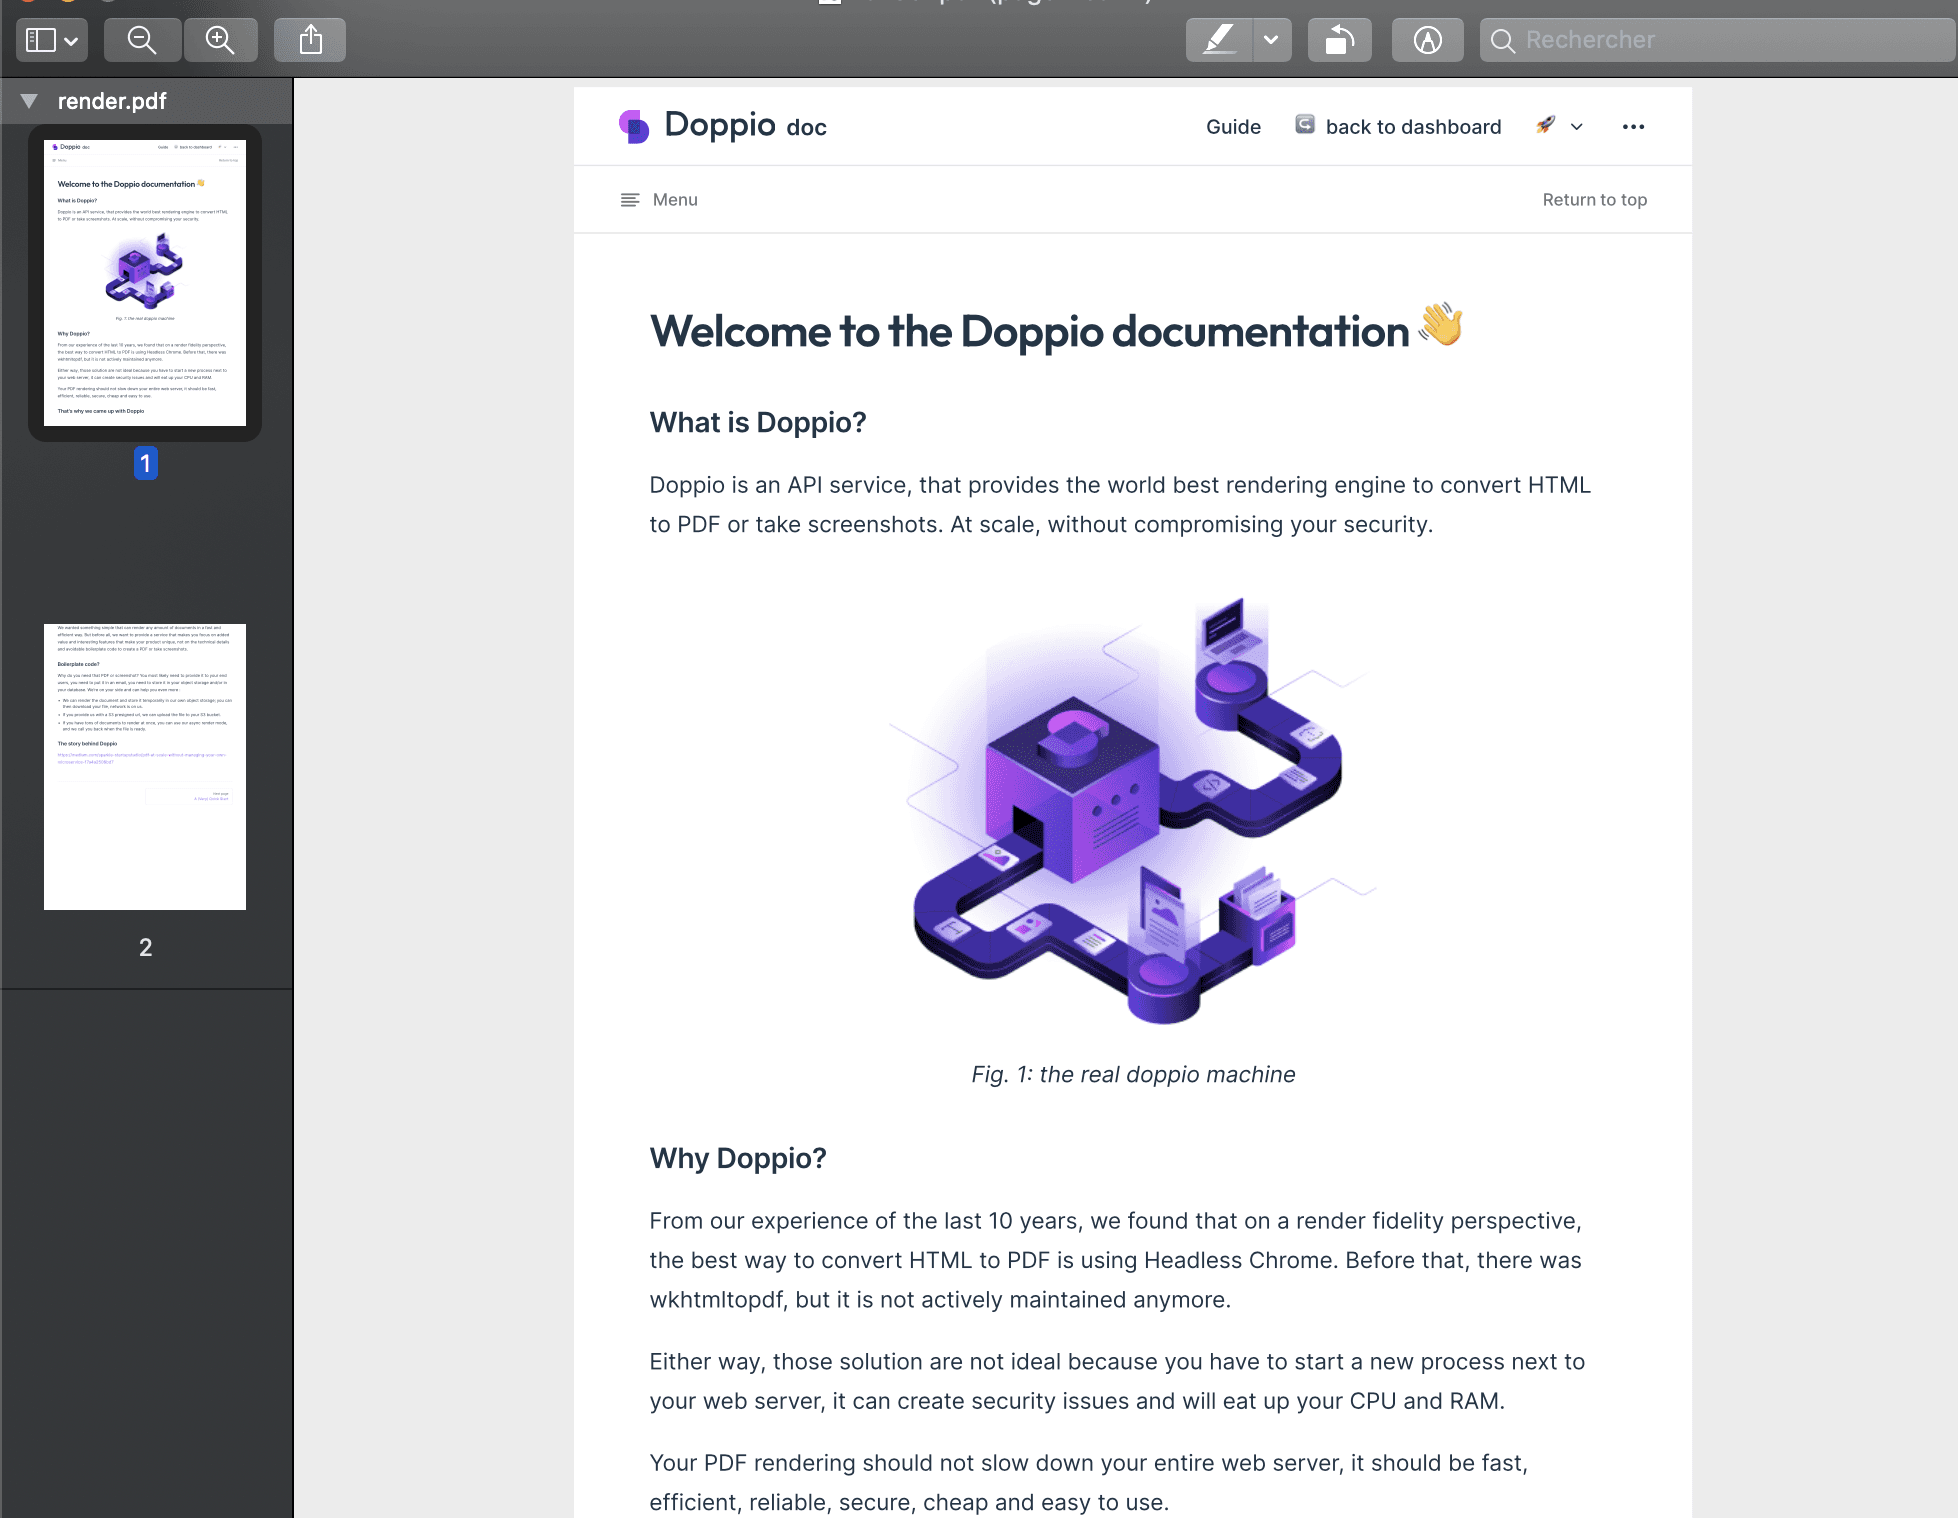
Now if you run node index.js again, it will output a render.pdf file in your project folder 🥳 :

☝️ If you're starting your page from scratch or working on a complex PDF, consider exploring Paged.js.
This tool acts as a polyfill for an upcoming CSS specification, offering advanced layout capabilities. For more information and guidance, visit our guide https://doc.doppio.sh/guide/cookbook/using-pagedjs.html
Rendering a PDF from HTML.
An alternative approach allows us to generate a PDF directly from HTML without the need for navigation.
We'll begin with the existing code base and introduce minor modifications to facilitate this process.
First, let's add a new file to our project named pdf.html, using Tailwind for styling:
<!DOCTYPE html>
<html lang="en">

<head>
  <meta charset="UTF-8">
  <meta name="viewport" content="width=device-width, initial-scale=1.0">
  <title>Invoice Example</title>
  <link href="https://cdn.jsdelivr.net/npm/tailwindcss@2.1.2/dist/tailwind.min.css" rel="stylesheet">
</head>

<body>
  <div class="container mx-auto p-8">
    <div class="mb-6">
      <h1 class="text-3xl font-bold mb-2">Invoice #1234</h1>
      <p>Date: 2024-03-12</p>
    </div>

    <section class="mb-8">
      <h2 class="font-bold text-xl mb-3">From:</h2>
      <p>Your Company Name</p>
      <p>123 Your Street, Your City, Your Country</p>
      <p>Email: your-email@company.com</p>
      <p>Phone: (123) 456-7890</p>
    </section>

    <section class="mb-8">
      <h2 class="font-bold text-xl mb-3">To:</h2>
      <p>Client's Name</p>
      <p>Client's Company Name</p>
      <p>456 Client's Street, Client's City, Client's Country</p>
      <p>Email: client-email@company.com</p>
      <p>Phone: (098) 765-4321</p>
    </section>

    <table class="w-full mb-8">
      <thead>
        <tr>
          <th class="border-b-2 border-gray-300 p-2 text-left">Description</th>
          <th class="border-b-2 border-gray-300 p-2 text-left">Quantity</th>
          <th class="border-b-2 border-gray-300 p-2 text-left">Unit Price</th>
          <th class="border-b-2 border-gray-300 p-2 text-left">Total</th>
        </tr>
      </thead>
      <tbody>
        <tr>
          <td class="p-2">Service or Product Name 1</td>
          <td class="p-2">2</td>
          <td class="p-2">$500.00</td>
          <td class="p-2">$1,000.00</td>
        </tr>
        <!-- Add more items as needed -->
        <tr>
          <td class="p-2">Service or Product Name 2</td>
          <td class="p-2">1</td>
          <td class="p-2">$300.00</td>
          <td class="p-2">$300.00</td>
        </tr>
      </tbody>
      <tfoot>
        <tr>
          <th colspan="3" class="text-right p-2">Total:</th>
          <th class="p-2">$1,300.00</th>
        </tr>
      </tfoot>
    </table>

    <footer class="text-center">
      <p>Thank you for your business!</p>
    </footer>
  </div>
</body>

</html>
We'll now modify our previously written code. This involves opening the index.html file and passing its contents as a parameter to a new function named setContent:
import puppeteer from 'puppeteer';
import { readFileSync } from 'fs';


(async () => {
  console.log(puppeteer.defaultBrowserRevision);

  // Start the browser
  const browser = await puppeteer.launch();

  // Open a new blank page
  const page = await browser.newPage();

  // Set screen size
  await page.setViewport({ width: 1920, height: 1080 });

  // Open the index.html file
  const htmlContent = readFileSync('./index.html', 'utf-8');

  // Now we use setContent instead of goto
  await page.setContent(htmlContent, { waitUntil: 'networkidle0' });

  // Use screen CSS instead of print
  await page.emulateMediaType('screen');

  // Render the PDF
  const pdf = await page.pdf({
    path: 'render.pdf', // Output the result in a local file
    printBackground: true,
    format: 'A4',
  });

  // Close the browser
  await browser.close();
})();
Puppeteer offers exceptional utility for various needs, providing a powerful tool at your fingertips.
However, if you find yourself unable to use Node.js with Puppeteer, or if you're having a hard time making it work at scale, or if you simply prefer not to manage it yourself, doppio.sh presents a seamless alternative and starts with a free plan. 😎
Easily Generate PDFs from Modern Webpages with Puppeteer! Faced with the difficulty of converting complex HTML sources to PDFs ?
Many libraries fall short, lacking compatibility with JS, CSS, and webfonts. Enter Puppeteer: a Node.js library that leverages the DevTools protocol to control Headless Chrome effortlessly.
Puppeteer removes the complexity of understanding this protocol, offering simple functions to navigate the headless browser and create PDFs from your webpage efficiently.
Node.js project init :
Create a new Node.js project and install puppeteer :
mkdir html-to-pdf && cd html-to-pdf
Check if Node.js is properly installed and not too old, anything superior to 18 is fine :
node --version
If not, I recommend you to install it with a version manager like nvm (https://github.com/nvm-sh/nvm)
Now you can init a new Node.js project in the folder :
npm init -y
Install Puppeteer :
Now that your folder is properly initialized as a Node.js project, you can now use npm to install the puppeteer library :
npm i puppeteer
Puppeteer comes packaged with its own version of Chrome, that is guaranteed to work properly with the installed puppeteer version.
Open your preferred code editor, navigate to the folder you've created, and it's time to create an index.js file alongside your package.json.

This index.js is where we will write all the code for this guide.
Let’s import the puppeteer library, we want to use the “import” syntax so do not forget to add “type”: “module” inside your package.json first.
{
  "name": "html-to-pdf",
  "version": "1.0.0",
  "description": "",
  "type": "module",
  "main": "index.js",
  "scripts": {
    "test": "echo \\"Error: no test specified\\" && exit 1"
  },
  "keywords": [],
  "author": "",
  "license": "ISC",
  "dependencies": {
    "puppeteer": "^22.4.1"
  }
}
Inside your index.js you can now properly import the puppeteer library, with the “import” syntax.
import puppeteer from 'puppeteer';We can also define an anonymous function that will contains all our code :
(async () => {
  console.log(puppeteer.defaultBrowserRevision);
})();
This just prints the “defaultBrowserRevision”.
You can check if everything is fine by running :
node index.js

Rendering a PDF from HTML with a URL as the source.
OK great, now we can write some real code :
import puppeteer from 'puppeteer';

(async () => {
  console.log(puppeteer.defaultBrowserRevision);

  // Start the browser
  const browser = await puppeteer.launch();

  // Open a new blank page
  const page = await browser.newPage();

  // Set screen size
  await page.setViewport({ width: 1920, height: 1080 });

  // Navigate the page to a URL and wait for everything to load
  await page.goto('https://doc.doppio.sh', { waitUntil: 'networkidle0' });

  // Use screen CSS instead of print
  await page.emulateMediaType('screen');

  // Render the PDF
  const pdf = await page.pdf({
    path: 'render.pdf', // Output the result in a local file
    printBackground: true,
    format: 'A4',
  });

  // Close the browser
  await browser.close();
})();
Puppeteer offers an extensive range of options and parameters for customization. Among them, two stand out for their importance :
waitUntil: Considering the multitude of assets that modern web pages comprise—such as JavaScript files, fonts, CSS, and images; this parameter ensures that the rendering process waits until all elements are fully loaded.printBackground: This parameter controls the inclusion of background images or colors in the PDF. By default, it's set to false, so enabling it is crucial for achieving the desired appearance in your PDF output.
Now if you run node index.js again, it will output a render.pdf file in your project folder 🥳 :

☝️ If you're starting your page from scratch or working on a complex PDF, consider exploring Paged.js.
This tool acts as a polyfill for an upcoming CSS specification, offering advanced layout capabilities. For more information and guidance, visit our guide https://doc.doppio.sh/guide/cookbook/using-pagedjs.html
Rendering a PDF from HTML.
An alternative approach allows us to generate a PDF directly from HTML without the need for navigation.
We'll begin with the existing code base and introduce minor modifications to facilitate this process.
First, let's add a new file to our project named pdf.html, using Tailwind for styling:
<!DOCTYPE html>
<html lang="en">

<head>
  <meta charset="UTF-8">
  <meta name="viewport" content="width=device-width, initial-scale=1.0">
  <title>Invoice Example</title>
  <link href="https://cdn.jsdelivr.net/npm/tailwindcss@2.1.2/dist/tailwind.min.css" rel="stylesheet">
</head>

<body>
  <div class="container mx-auto p-8">
    <div class="mb-6">
      <h1 class="text-3xl font-bold mb-2">Invoice #1234</h1>
      <p>Date: 2024-03-12</p>
    </div>

    <section class="mb-8">
      <h2 class="font-bold text-xl mb-3">From:</h2>
      <p>Your Company Name</p>
      <p>123 Your Street, Your City, Your Country</p>
      <p>Email: your-email@company.com</p>
      <p>Phone: (123) 456-7890</p>
    </section>

    <section class="mb-8">
      <h2 class="font-bold text-xl mb-3">To:</h2>
      <p>Client's Name</p>
      <p>Client's Company Name</p>
      <p>456 Client's Street, Client's City, Client's Country</p>
      <p>Email: client-email@company.com</p>
      <p>Phone: (098) 765-4321</p>
    </section>

    <table class="w-full mb-8">
      <thead>
        <tr>
          <th class="border-b-2 border-gray-300 p-2 text-left">Description</th>
          <th class="border-b-2 border-gray-300 p-2 text-left">Quantity</th>
          <th class="border-b-2 border-gray-300 p-2 text-left">Unit Price</th>
          <th class="border-b-2 border-gray-300 p-2 text-left">Total</th>
        </tr>
      </thead>
      <tbody>
        <tr>
          <td class="p-2">Service or Product Name 1</td>
          <td class="p-2">2</td>
          <td class="p-2">$500.00</td>
          <td class="p-2">$1,000.00</td>
        </tr>
        <!-- Add more items as needed -->
        <tr>
          <td class="p-2">Service or Product Name 2</td>
          <td class="p-2">1</td>
          <td class="p-2">$300.00</td>
          <td class="p-2">$300.00</td>
        </tr>
      </tbody>
      <tfoot>
        <tr>
          <th colspan="3" class="text-right p-2">Total:</th>
          <th class="p-2">$1,300.00</th>
        </tr>
      </tfoot>
    </table>

    <footer class="text-center">
      <p>Thank you for your business!</p>
    </footer>
  </div>
</body>

</html>
We'll now modify our previously written code. This involves opening the index.html file and passing its contents as a parameter to a new function named setContent:
import puppeteer from 'puppeteer';
import { readFileSync } from 'fs';


(async () => {
  console.log(puppeteer.defaultBrowserRevision);

  // Start the browser
  const browser = await puppeteer.launch();

  // Open a new blank page
  const page = await browser.newPage();

  // Set screen size
  await page.setViewport({ width: 1920, height: 1080 });

  // Open the index.html file
  const htmlContent = readFileSync('./index.html', 'utf-8');

  // Now we use setContent instead of goto
  await page.setContent(htmlContent, { waitUntil: 'networkidle0' });

  // Use screen CSS instead of print
  await page.emulateMediaType('screen');

  // Render the PDF
  const pdf = await page.pdf({
    path: 'render.pdf', // Output the result in a local file
    printBackground: true,
    format: 'A4',
  });

  // Close the browser
  await browser.close();
})();
Puppeteer offers exceptional utility for various needs, providing a powerful tool at your fingertips.
However, if you find yourself unable to use Node.js with Puppeteer, or if you're having a hard time making it work at scale, or if you simply prefer not to manage it yourself, doppio.sh presents a seamless alternative and starts with a free plan. 😎
By Doppio
March 13, 2024