In this tutorial, we will learn how to create a banner for a customer review using Doppio's template feature.
What are Doppio Templates?
Doppio's template feature allows you to create reusable HTML templates with dynamic variables. You can design your template once, then generate different outputs by passing different data.

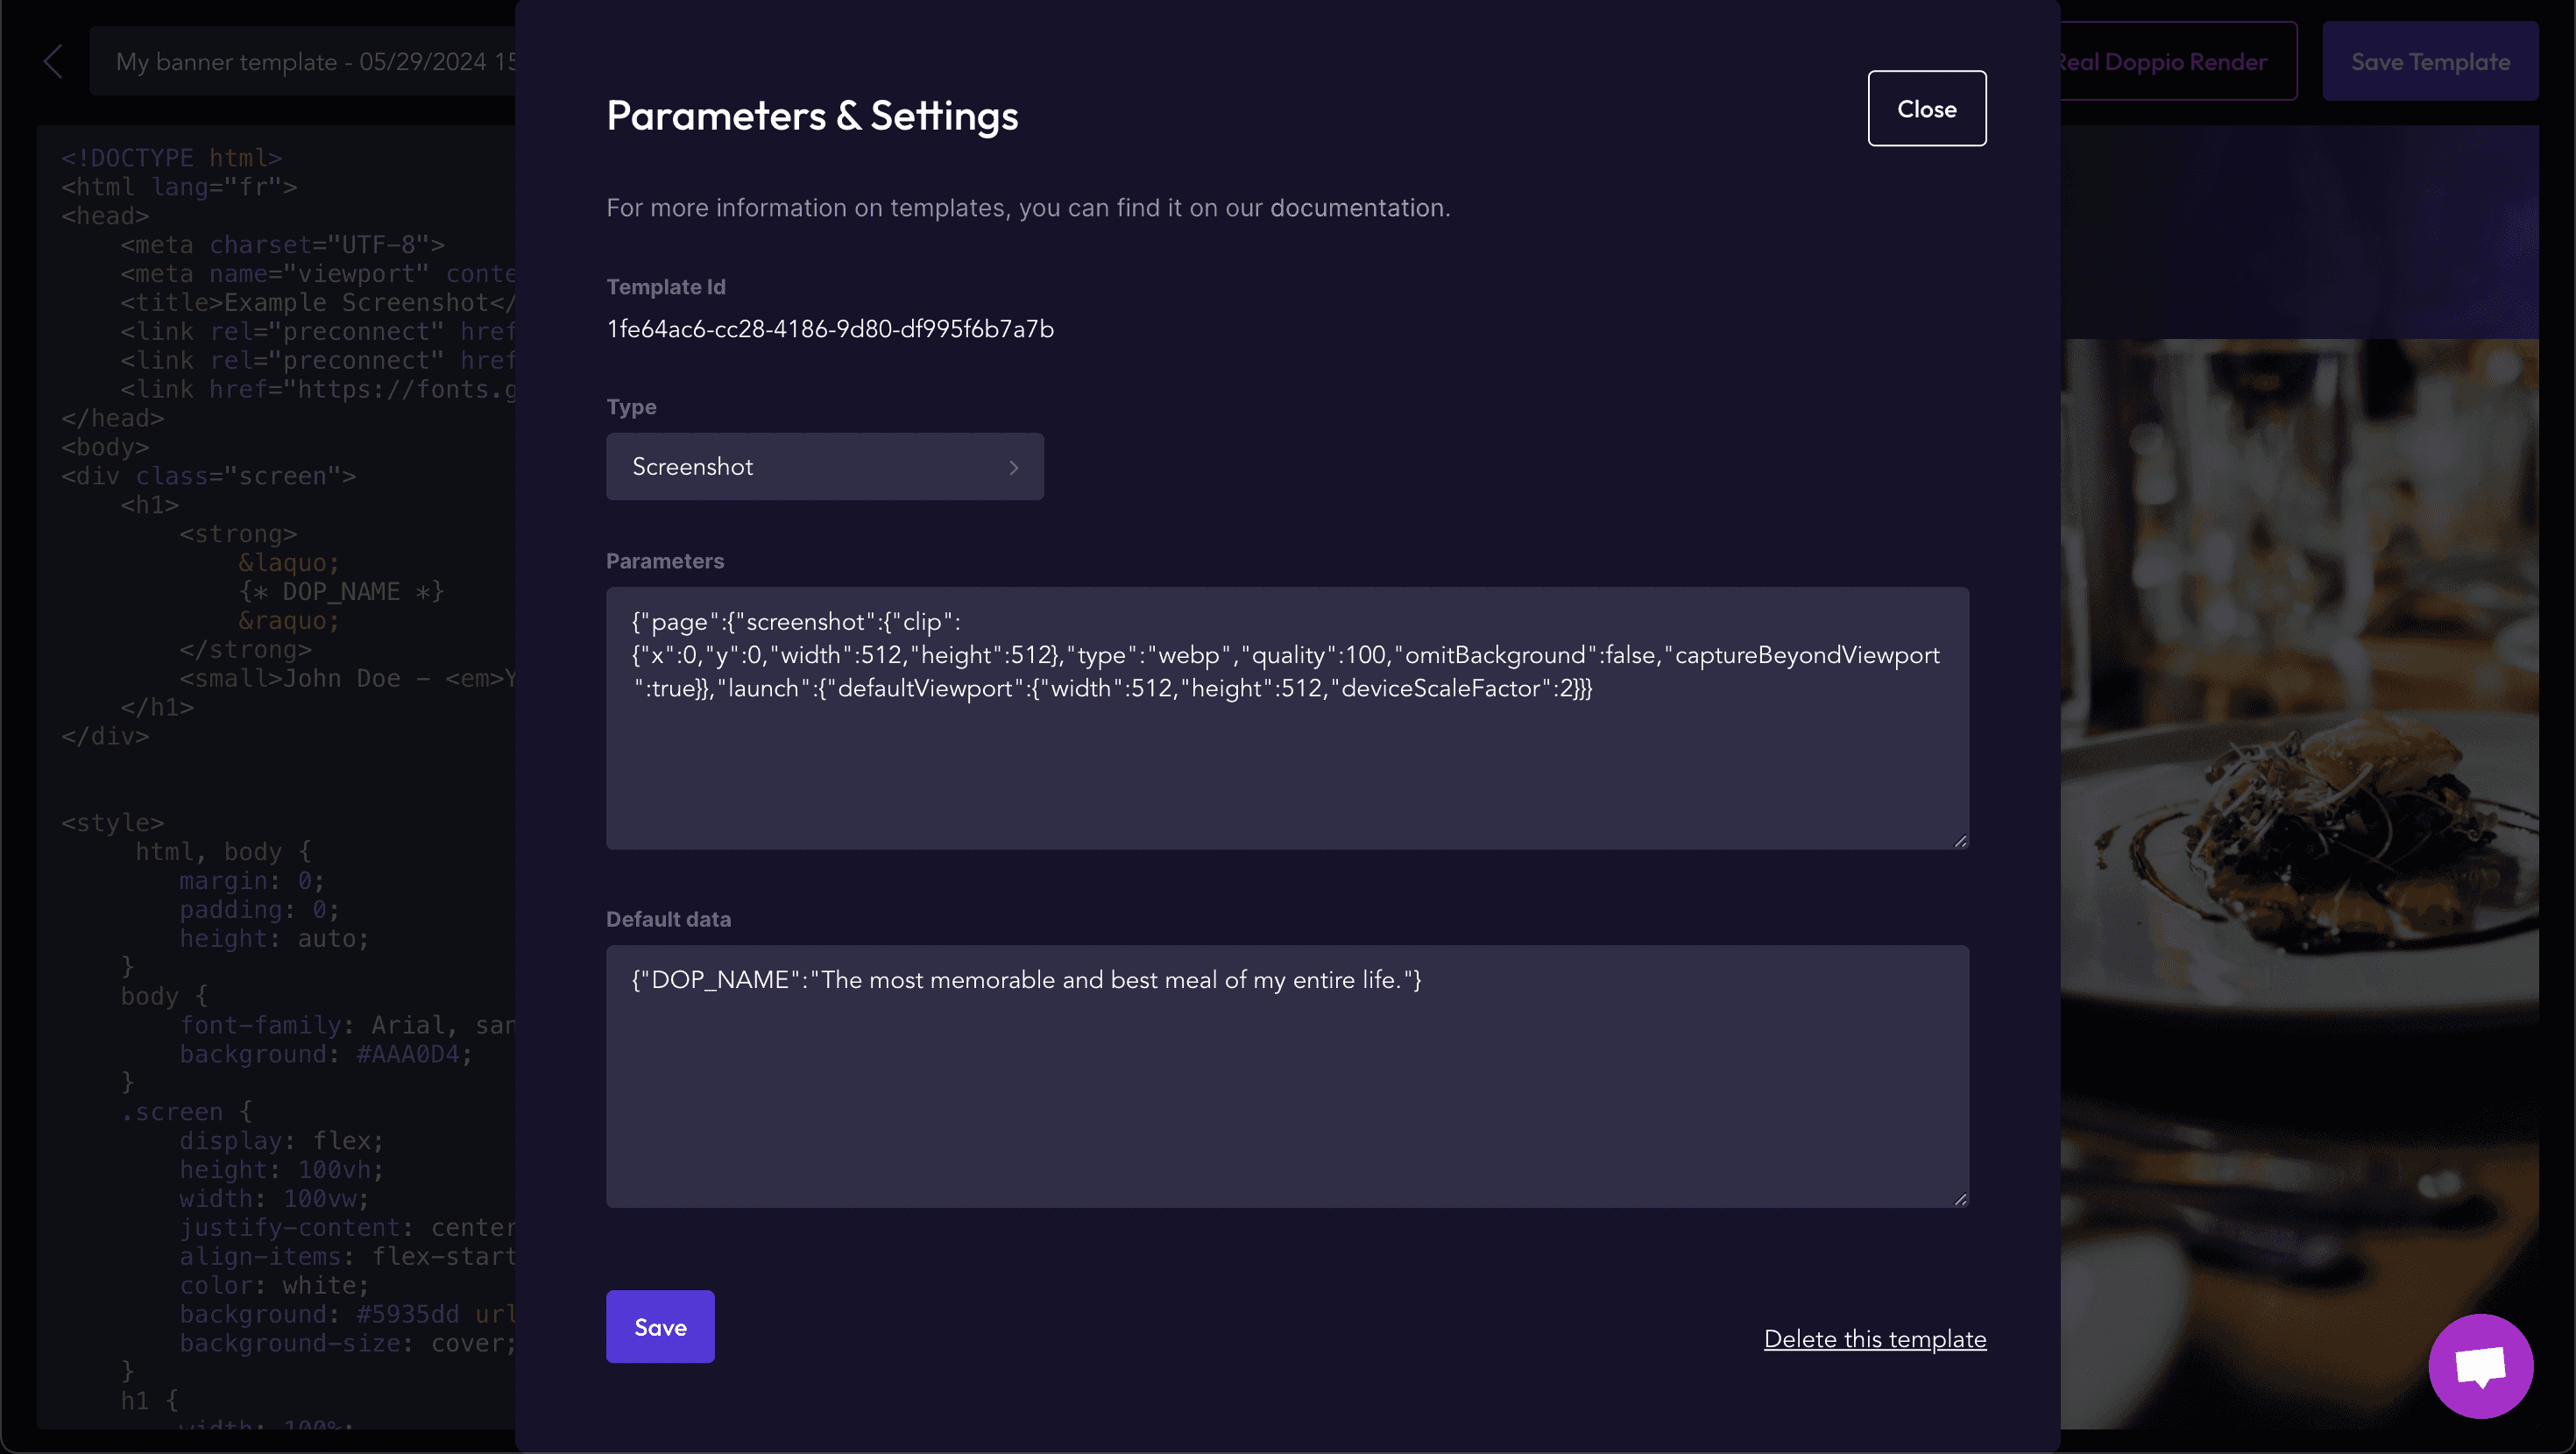
Creating the Banner Template
Navigate to the Templates section in your Doppio dashboard and create a new template. Design your banner with HTML and CSS, using Doppio's variable syntax for dynamic content.
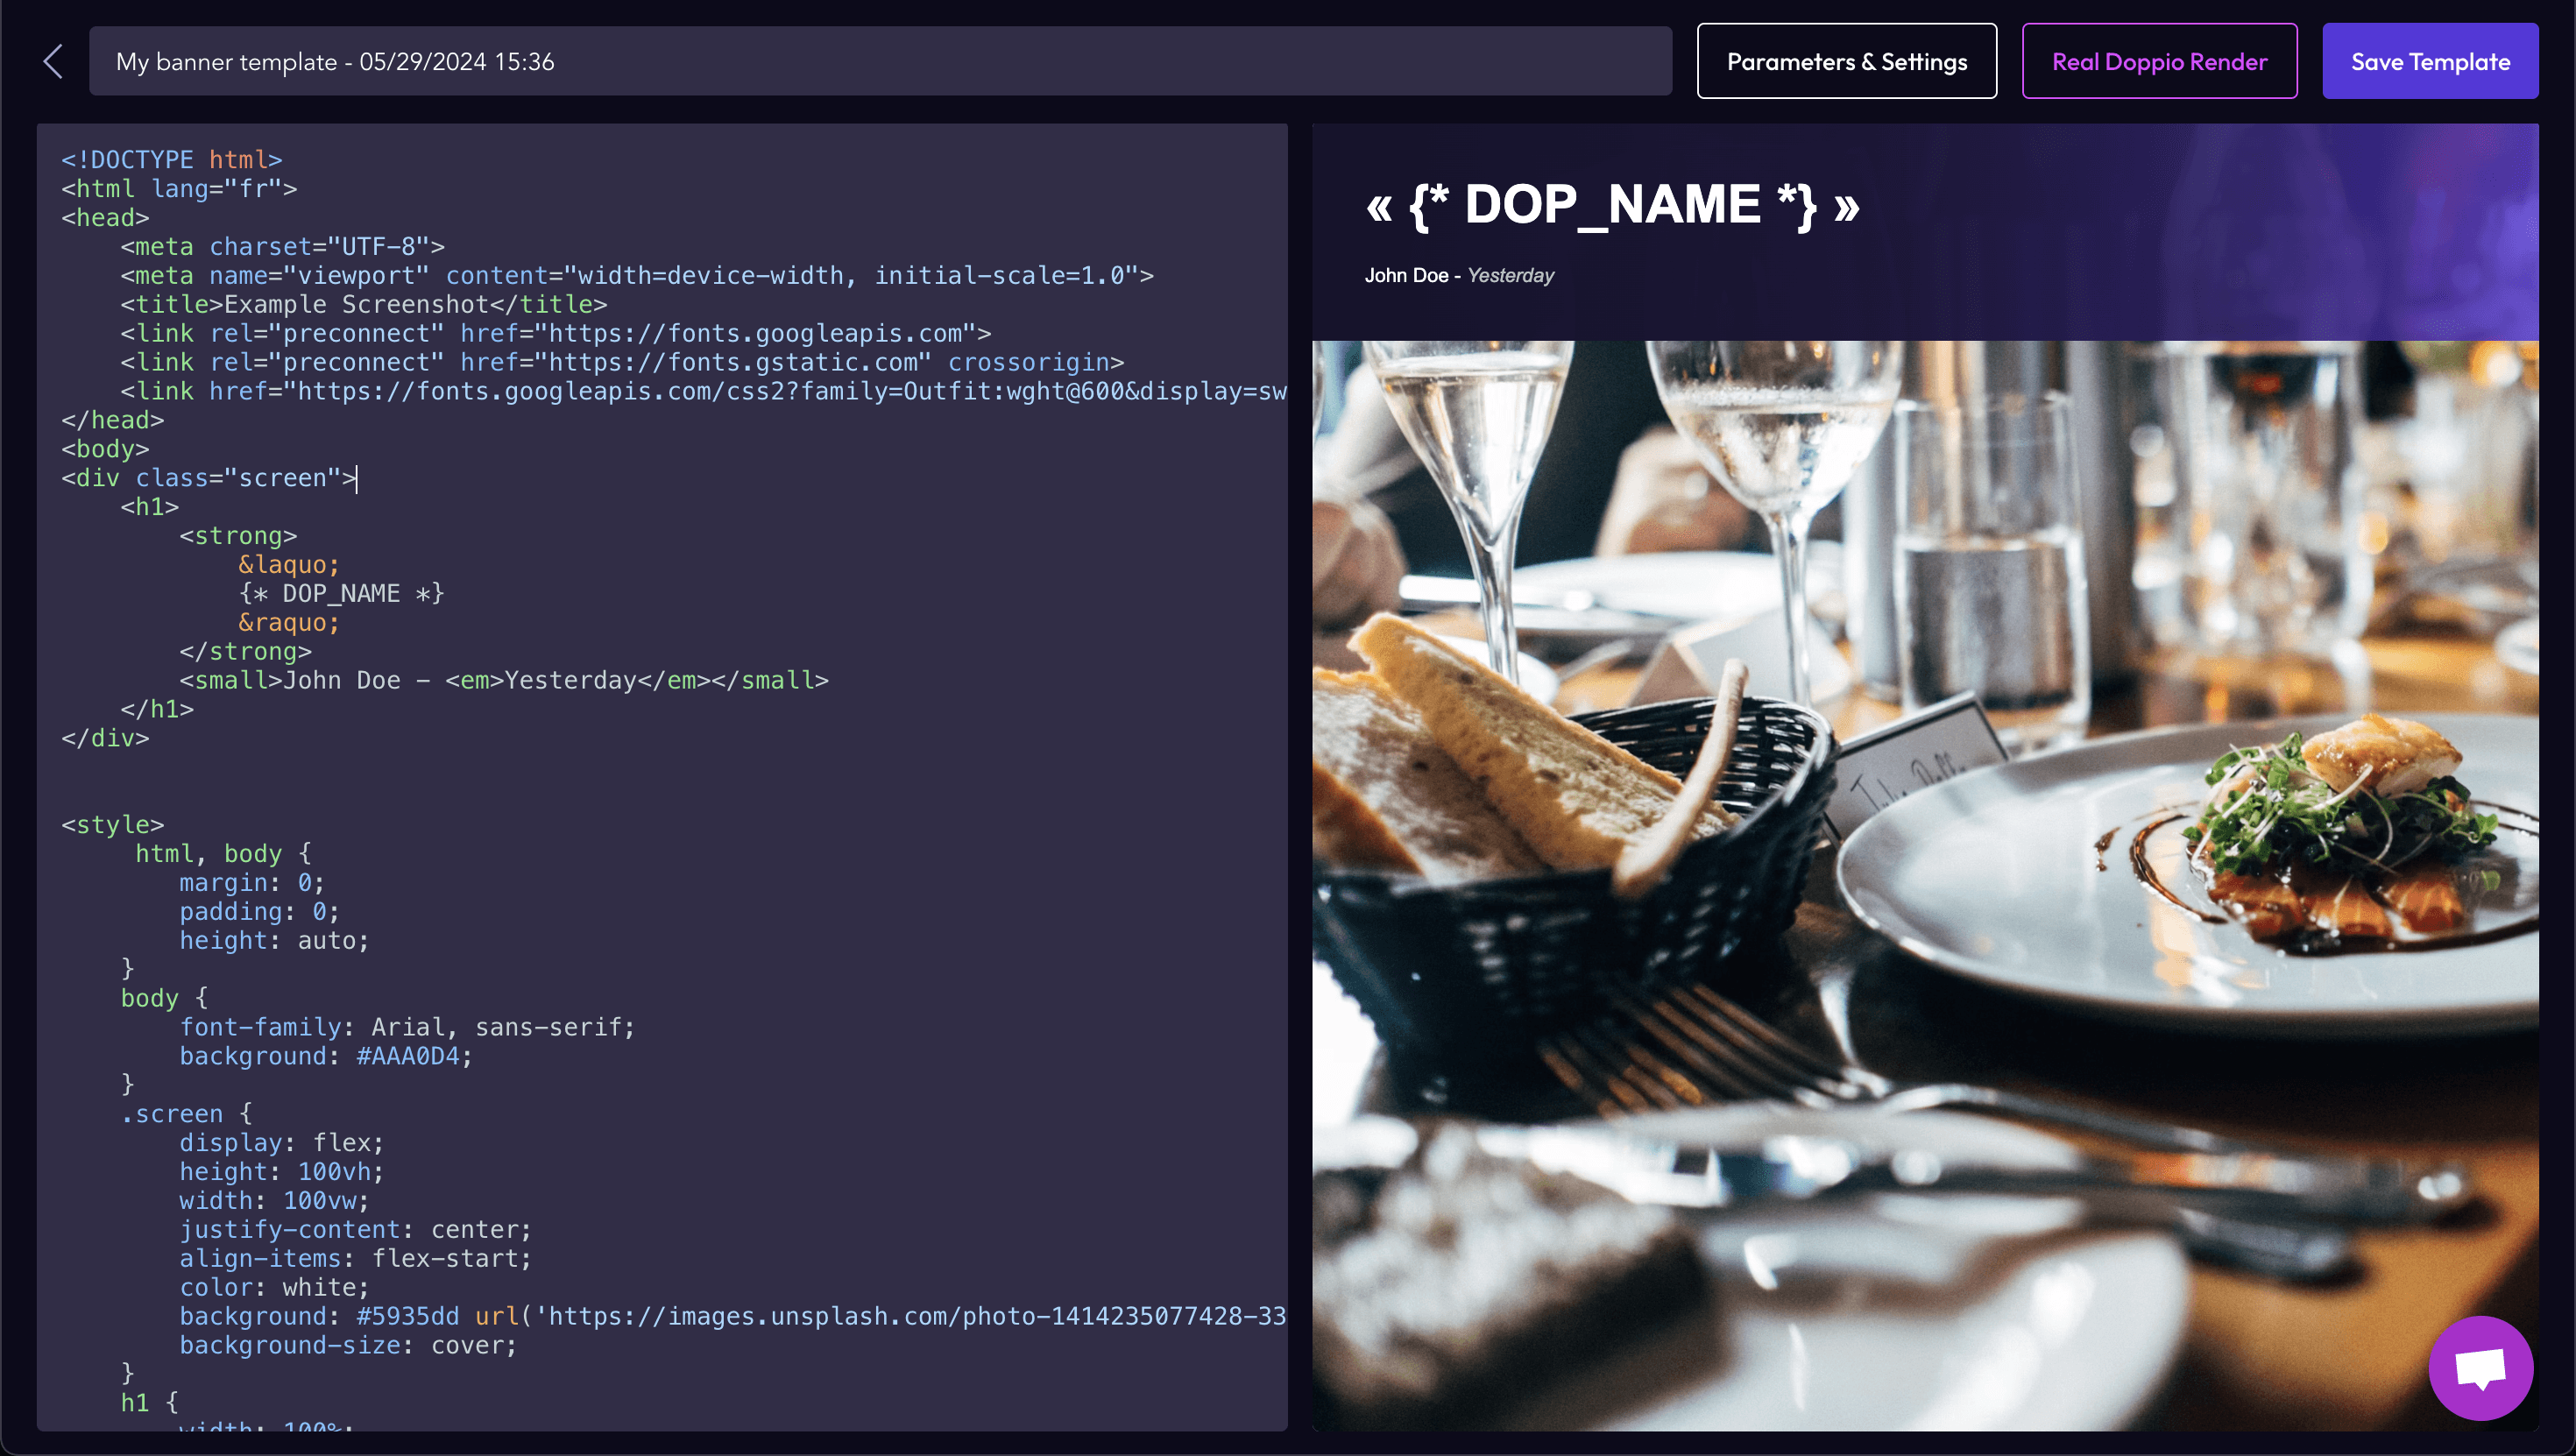
Adding Dynamic Variables
Use Doppio's template syntax to add placeholders for customer name, review text, rating, and profile image:
<div class="banner">
  <div class="review">
    <p class="quote">{* DOP_review_text *}</p>
    <div class="author">
      <img src="{* DOP_avatar_url *}" alt="avatar">
      <span>{* DOP_customer_name *}</span>
    </div>
  </div>
</div>
Generating the Banner
Once your template is ready, use the Doppio template API to generate the banner by passing templateData:
{
  "templateId": "your-template-id",
  "templateData": {
    "DOP_review_text": "Doppio made our PDF generation seamless!",
    "DOP_customer_name": "John Doe",
    "DOP_avatar_url": "https://example.com/avatar.jpg"
  }
}
That's it! You can now generate beautiful banners dynamically with Doppio's template feature.